To read your email messages using Microsoft Outlook, you will need to configure several Microsoft Outlook email service options. Please note that there are different versions of Outlook, so sometimes the names of menu items or fields are a little different from our instructions here. These instructions apply to Outlook 2013.
Please Note: We provide online tutorials to help you configure your email software as a courtesy. However, our support staff are unable to provide any support on how to use or configure third-party software on your computer, laptop, tablet or smartphone. We will provide support for any issues relating to the software and services on our servers, but you will need to contact the software manufacturer or visit their relevant online support pages for help with the software that they provide.
To set up Microsoft Outlook
1. Open Microsoft Outlook.
2. Click the "File" tab from the menu.
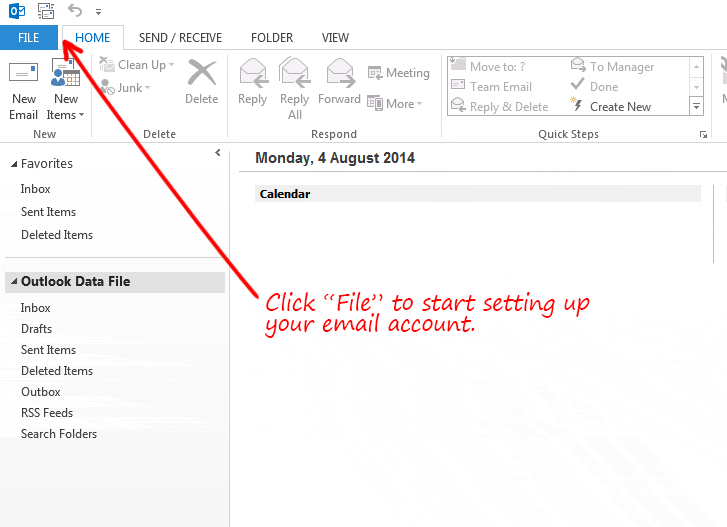
3. Click the "Add Account" button.

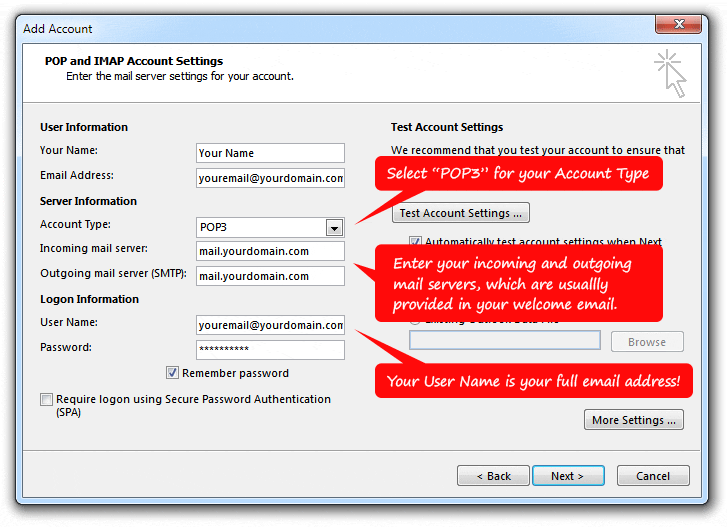
4. In the "Add Account" window, enter your name, full email address and password.
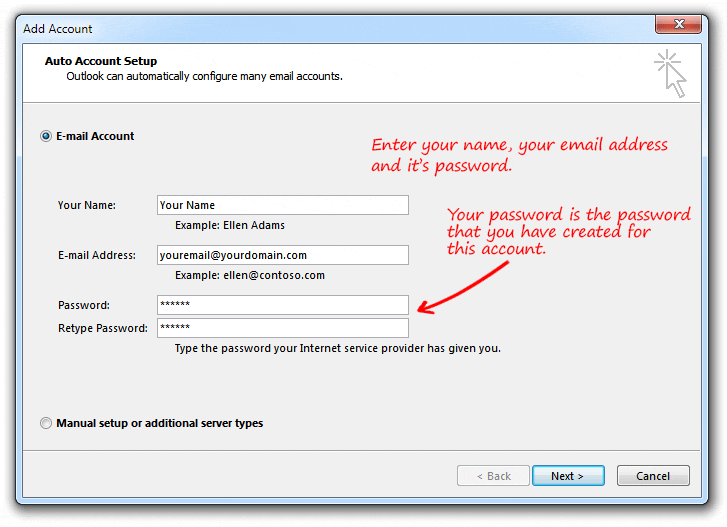
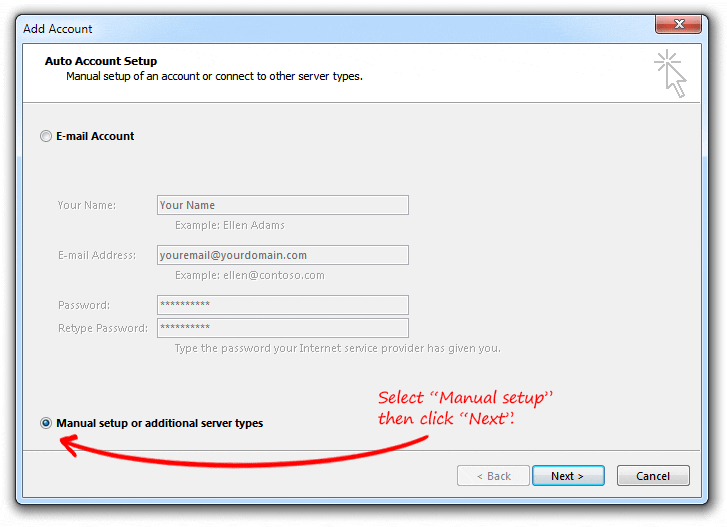
5. Click the Manual setup or additional server types check box, and then click Next.
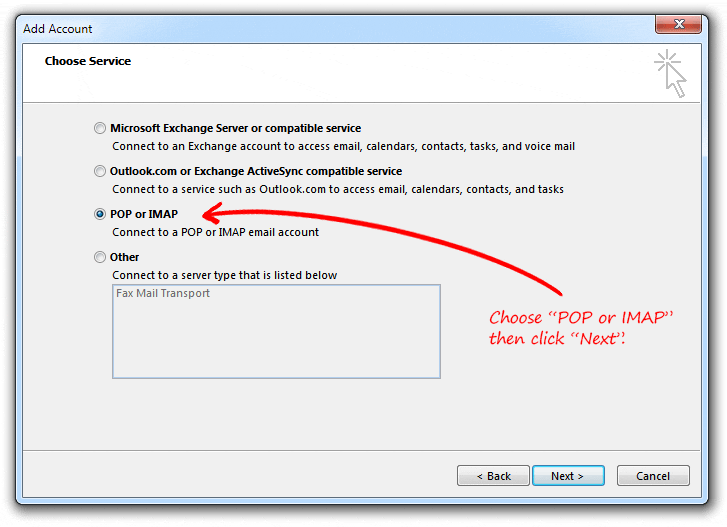
6. Select POP or IMAP, and then click Next.
7. Under User Information , configure the following settings:
- In the Your Name box, type your full name.
- In the Email Address box, type your full email address.
8. Under Server Information, select in the "POP3" Account Type box, and configure the following settings:
- In the Incoming mail server box, type the name of your incoming mail server in lowercase letters. The name should be in the form of "mail.yourdomain.com." Your mail servers are usually specified in your welcome email.
- In the Outgoing mail server (SMTP) box, type the name of the outgoing email server in lowercase letters. The name should be in the form of "mail.yourdomain.com."
9. Under Logon Information, configure the following settings:
- In the User Name box, type your full email address.
- In the Password box, type the password that you created when creating this mailbox in cPanel.
- If you want Outlook to remember your email account password, click to select the Remember password check box.
10. Click the "More Settings" button.
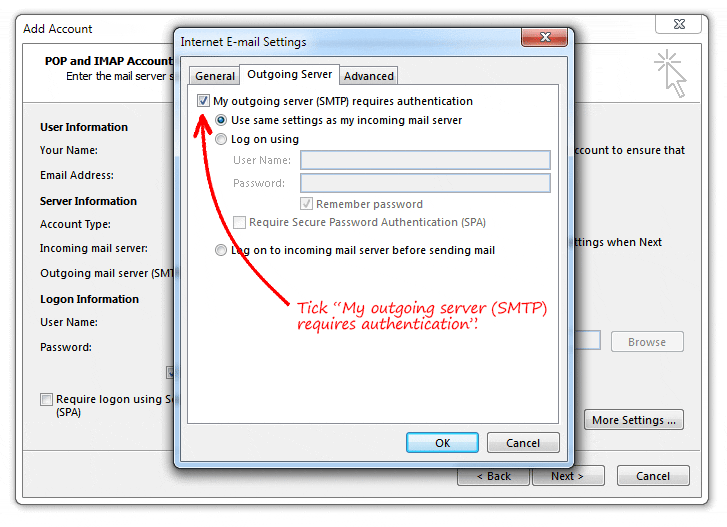
11. If you haven't already, click the "More Settings" button, and then go to the "Outgoing Server" tab.

12. Select "My outgoing server (SMTP) requires authentication" and then go to the "Advanced" tab
13. In the "Server Port Numbers" section, enter the following information
- Incoming server (POP3): 995
- Tick both "This server requires a secure connection (SSL)" boxes. All accounts now support free SSL.
- Outgoing server (SMTP): 465
- "Use the following type of encrypted connection:" SSL/TLS
14. In the "Delivery" section, select the following;
- Tick "Leave a copy of messages on the server"
- Tick "Remove from server after 14 days"
- Tick "Remove from server when deleted from Deleted Items"
15. Click ok.
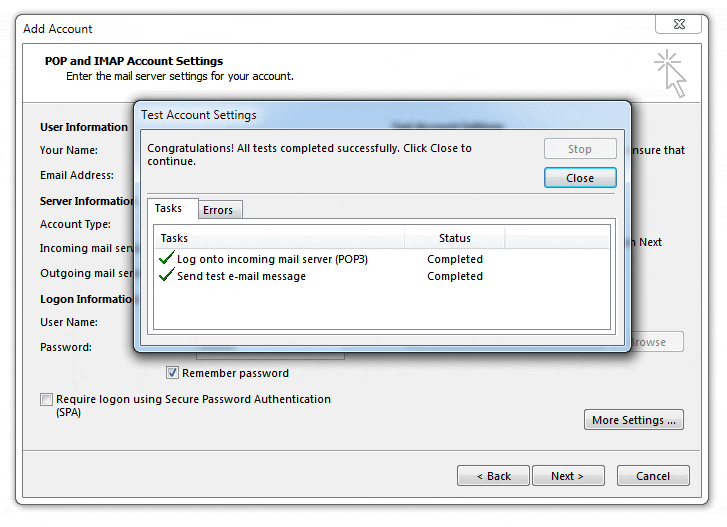
16. Click next, and your test should work. If it doesn't review your settings and make sure your password is correct.
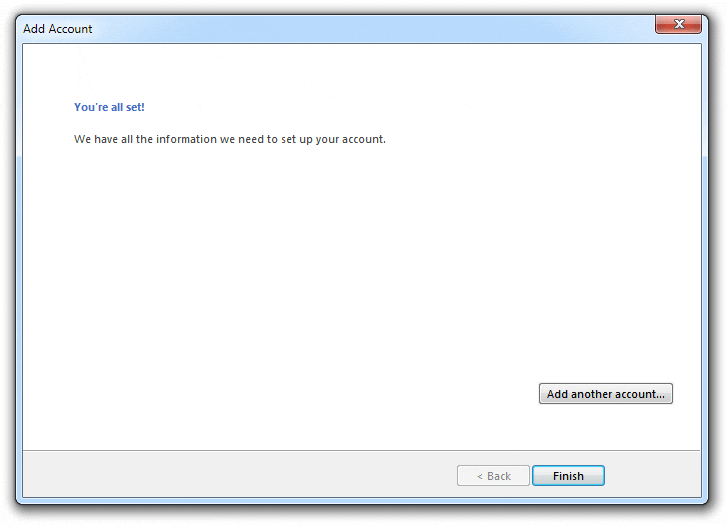
17. Click "Finish".
Should you have problems sending mail after you have followed our instructions, please let us know. We require your email address, it's password and your IP address to be able to resolve most email issues. Your IP address is displayed at the bottom of this page.
