Please Note: We provide online tutorials to help you configure your email software as a courtesy. However, our support staff are unable to provide any support on how to use or configure third-party software on your computer, laptop, tablet or smartphone. We will provide support for any issues relating to the software and services on our servers, but you will need to contact the software manufacturer or visit their relevant online support pages for help with the software that they provide.
STEP 1
Go to the "Tools" menu at the top then select "Accounts". 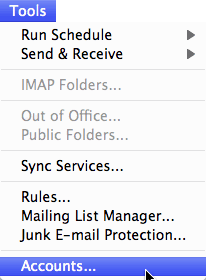
STEP 2
You’ll see the Accounts window. Click E-mail Account.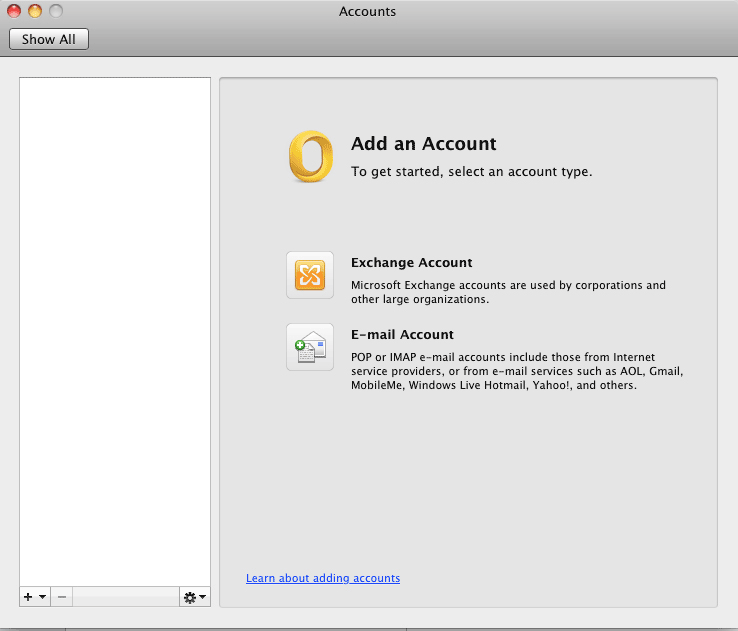
STEP 3
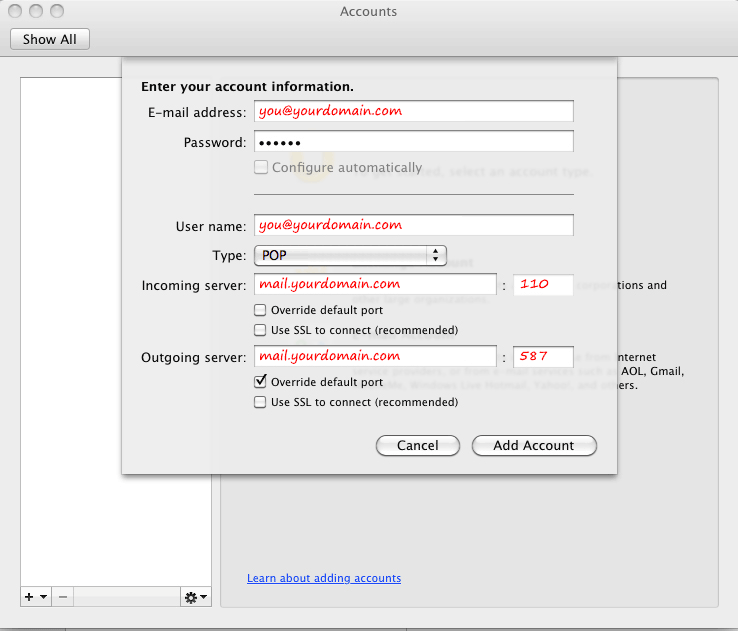
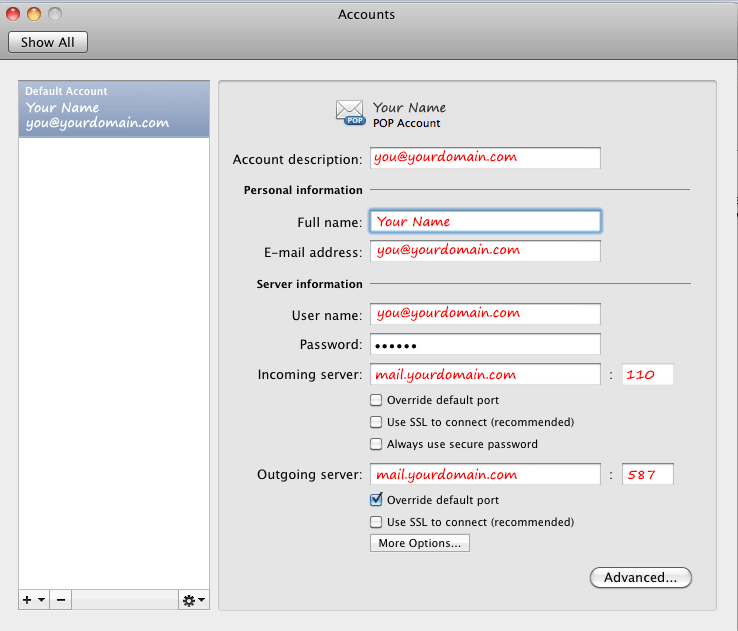
You’ll see the Enter your account information window. Fill in your email settings as follows:
E-mail Address: Enter your email address.
Password: Enter your email password.
User Name: Enter your email address again.
Type: Set the menu to POP.
Incoming server: Enter your incoming mail server. Your incoming mail server is mail.(your domain name). So, for example, if your domain name were widgets.com, your incoming mail server would be mail.widgets.com.
Override default port: Make sure this box unclicked.
Use SSL to connect: Make sure this box is ticked.
Outgoing server: Enter your outgoing mail server. Your outgoing mail server is the same as your incoming mail server.
Override default port: Click this box, then change the default port number (25) to 587.
Use SSL to connect: Make sure this box is ticked.
Click the Add Account button.
STEP 4
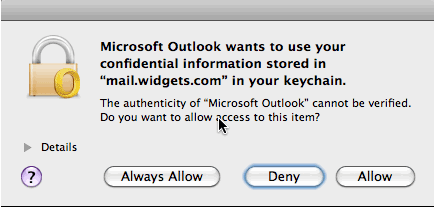
You’ll see a dialog box asking whether to allow Microsoft Outlook to access your confidential information stored in your Mac OS X keychain. The reason Microsoft Outlook wants to access the keychain is to store your user name and password for accessing incoming and outgoing email. Click the Always Allow button. This allows Outlook to store the user name and password now, and also retrieve it each time you attempt to receive or send messages.
NOTE: If you click the Allow or Deny buttons, you’ll have to enter your email password manually each time you want to send and receive messages.
STEP 5
That takes you back to the Accounts window, and your newly created account is listed at the left side of the window.
Microsoft Outlook automatically adds the Account description, but we recommend changing Outlook’s default entry to your mail address so you can easily identify which account corresponds to which email address if you have multiple accounts in Outlook.
Now click the More Options… button below the Outgoing server.
STEP 6
In the More Options window, change the popup menu for Authentication to Use Incoming Server Info, then click the OK button to return to the Accounts window. Close the Accounts window to return to the main Outlook email window. You’re now ready to send and receive email.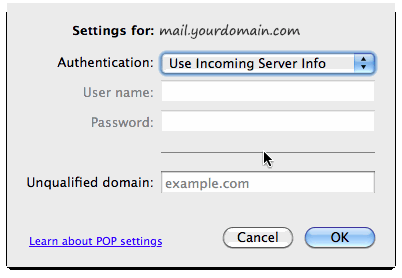
Should you have problems sending mail after you have followed our instructions, please let us know. We require your email address, it's password and your IP address to be able to resolve most email issues. Your IP address is displayed at the bottom of this page.